
")
How to get the best out of the kit that you have
If you’re a maker, crafter, creative start-up or small business owner, one of the most impactful skills you can develop right now is taking better product photography with your mobile phone. In today’s digital marketplace, high-quality product images aren’t just nice to have — they’re essential for selling online, building your brand and standing out on social media.
For years, I’ve been delivering talks, lectures and practical sessions at the Business & IP Centre (BIPC) in Leeds — and after fantastic feedback, I’ve expanded my sessions into hands-on, practical workshops designed to help you get the most from your camera or mobile phone and show you how to light your products better results. Below are going to be some really important tips about how to get the best product photographs you can from your mobile phone.
During my workshop I talk about composing images and how to get the right exposure, HERE is a link to my lecture.
✨ Why Mobile Product Photography Matters
Modern phone cameras are powerful tools capable of delivering professional-looking images — if you know how to use them.
The good news? You don’t need expensive gear — just the right techniques. If you have a great quality, well lit image with faithful colours, you can represent your work at its best. Once you have this great base image you can, if you like, use Ai to change the background etc but first you need a great image.
Having said all of that, if budget can stretch to a compact camera or a DSLR you will see a large improvement in quality.
📱 Taking Better Product Photography with Your Mobile Phone: MyTop Tips as a proffessional photographer-
First of all gain control of your cameras settings. Take the phone off automatic, use manual. If your phone does not allow this, download an app the enables these setting, you can get free camera apps for this purpose.
Change the image file (quality) from Jpeg to TIFF or even better RAW
Take the camera off auto iso– use 100 iso or lower. Now change the shutter speed, look at the dark areas of the image, try to get a little detail in the shadows. Take a few different exposures and choose the best one.
Use a tripod. Using 100 iso will mean longer shutter speeds, you will get shaky pictures if you don’t use a tripod, THIS IS VERY IMPORTANT.
Use the self timer. 2 seconds will do, it stops those shaky pictures.
Use a telephoto lens. If your phone has a true optical telephoto/zoom lens this will flatter your subject. If you don’t have one look at getting a good quality telephoto lens attachment.
Focus on Light — Your Most Powerful Tool
Lighting is the number one thing that separates amateur snaps from polished product photos. Whether you use natural light from a window or bring in a simple lamp with a diffuser, soft, even light helps show texture, colour and shape without harsh shadows or blown highlights.
⭐ Try these lighting approaches:
- Place your product near a north-facing window for soft natural light, the larger and more diffused the light source, the better.
- Use a white sheet or paper as a DIY light diffuser or use tracing paper
- If indoors, balance your available lights with reflectors to fill shadows
- HERE is a link to better lighting as discussed and demonstrated in my workshops
Choose Backgrounds and Props Wisely and/or use AI
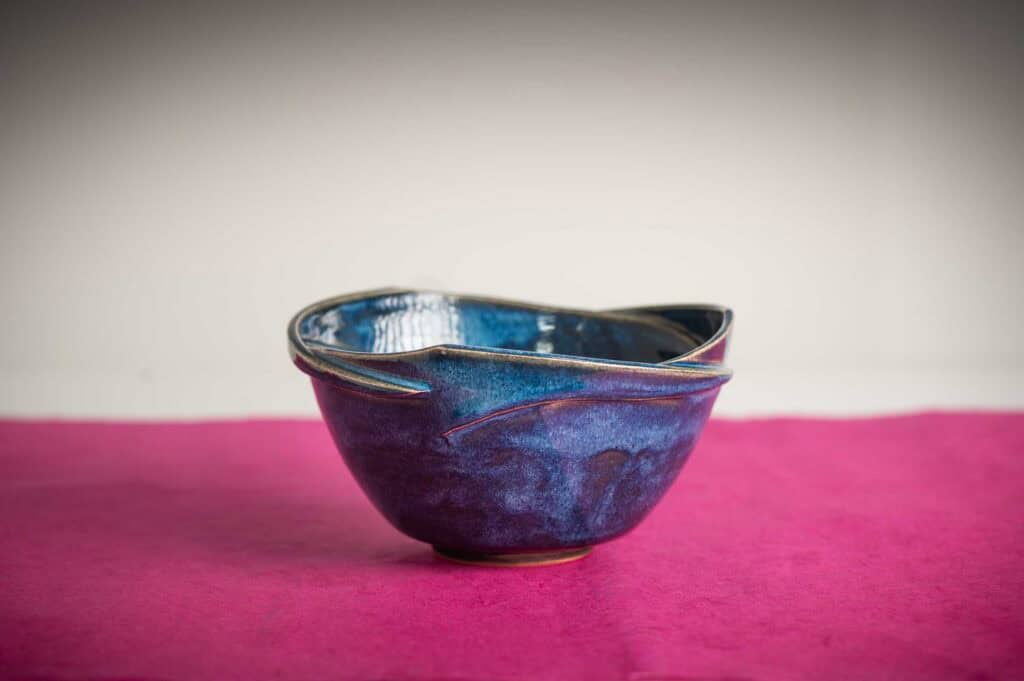
A clean or neutral background keeps attention on your product. Use papers, boards or textiles that complement the colours and style of what you’re shooting. During my workshops I used textured wrapping paper and some cheap photographs backgrounds from Amazon, you can see these in the incuded images. However Ai is getting way more powerful so if you have a great quality well lit image to start you may want to explore the many Ai programmes out there.
🎓 From Talks to Hands-On Workshops
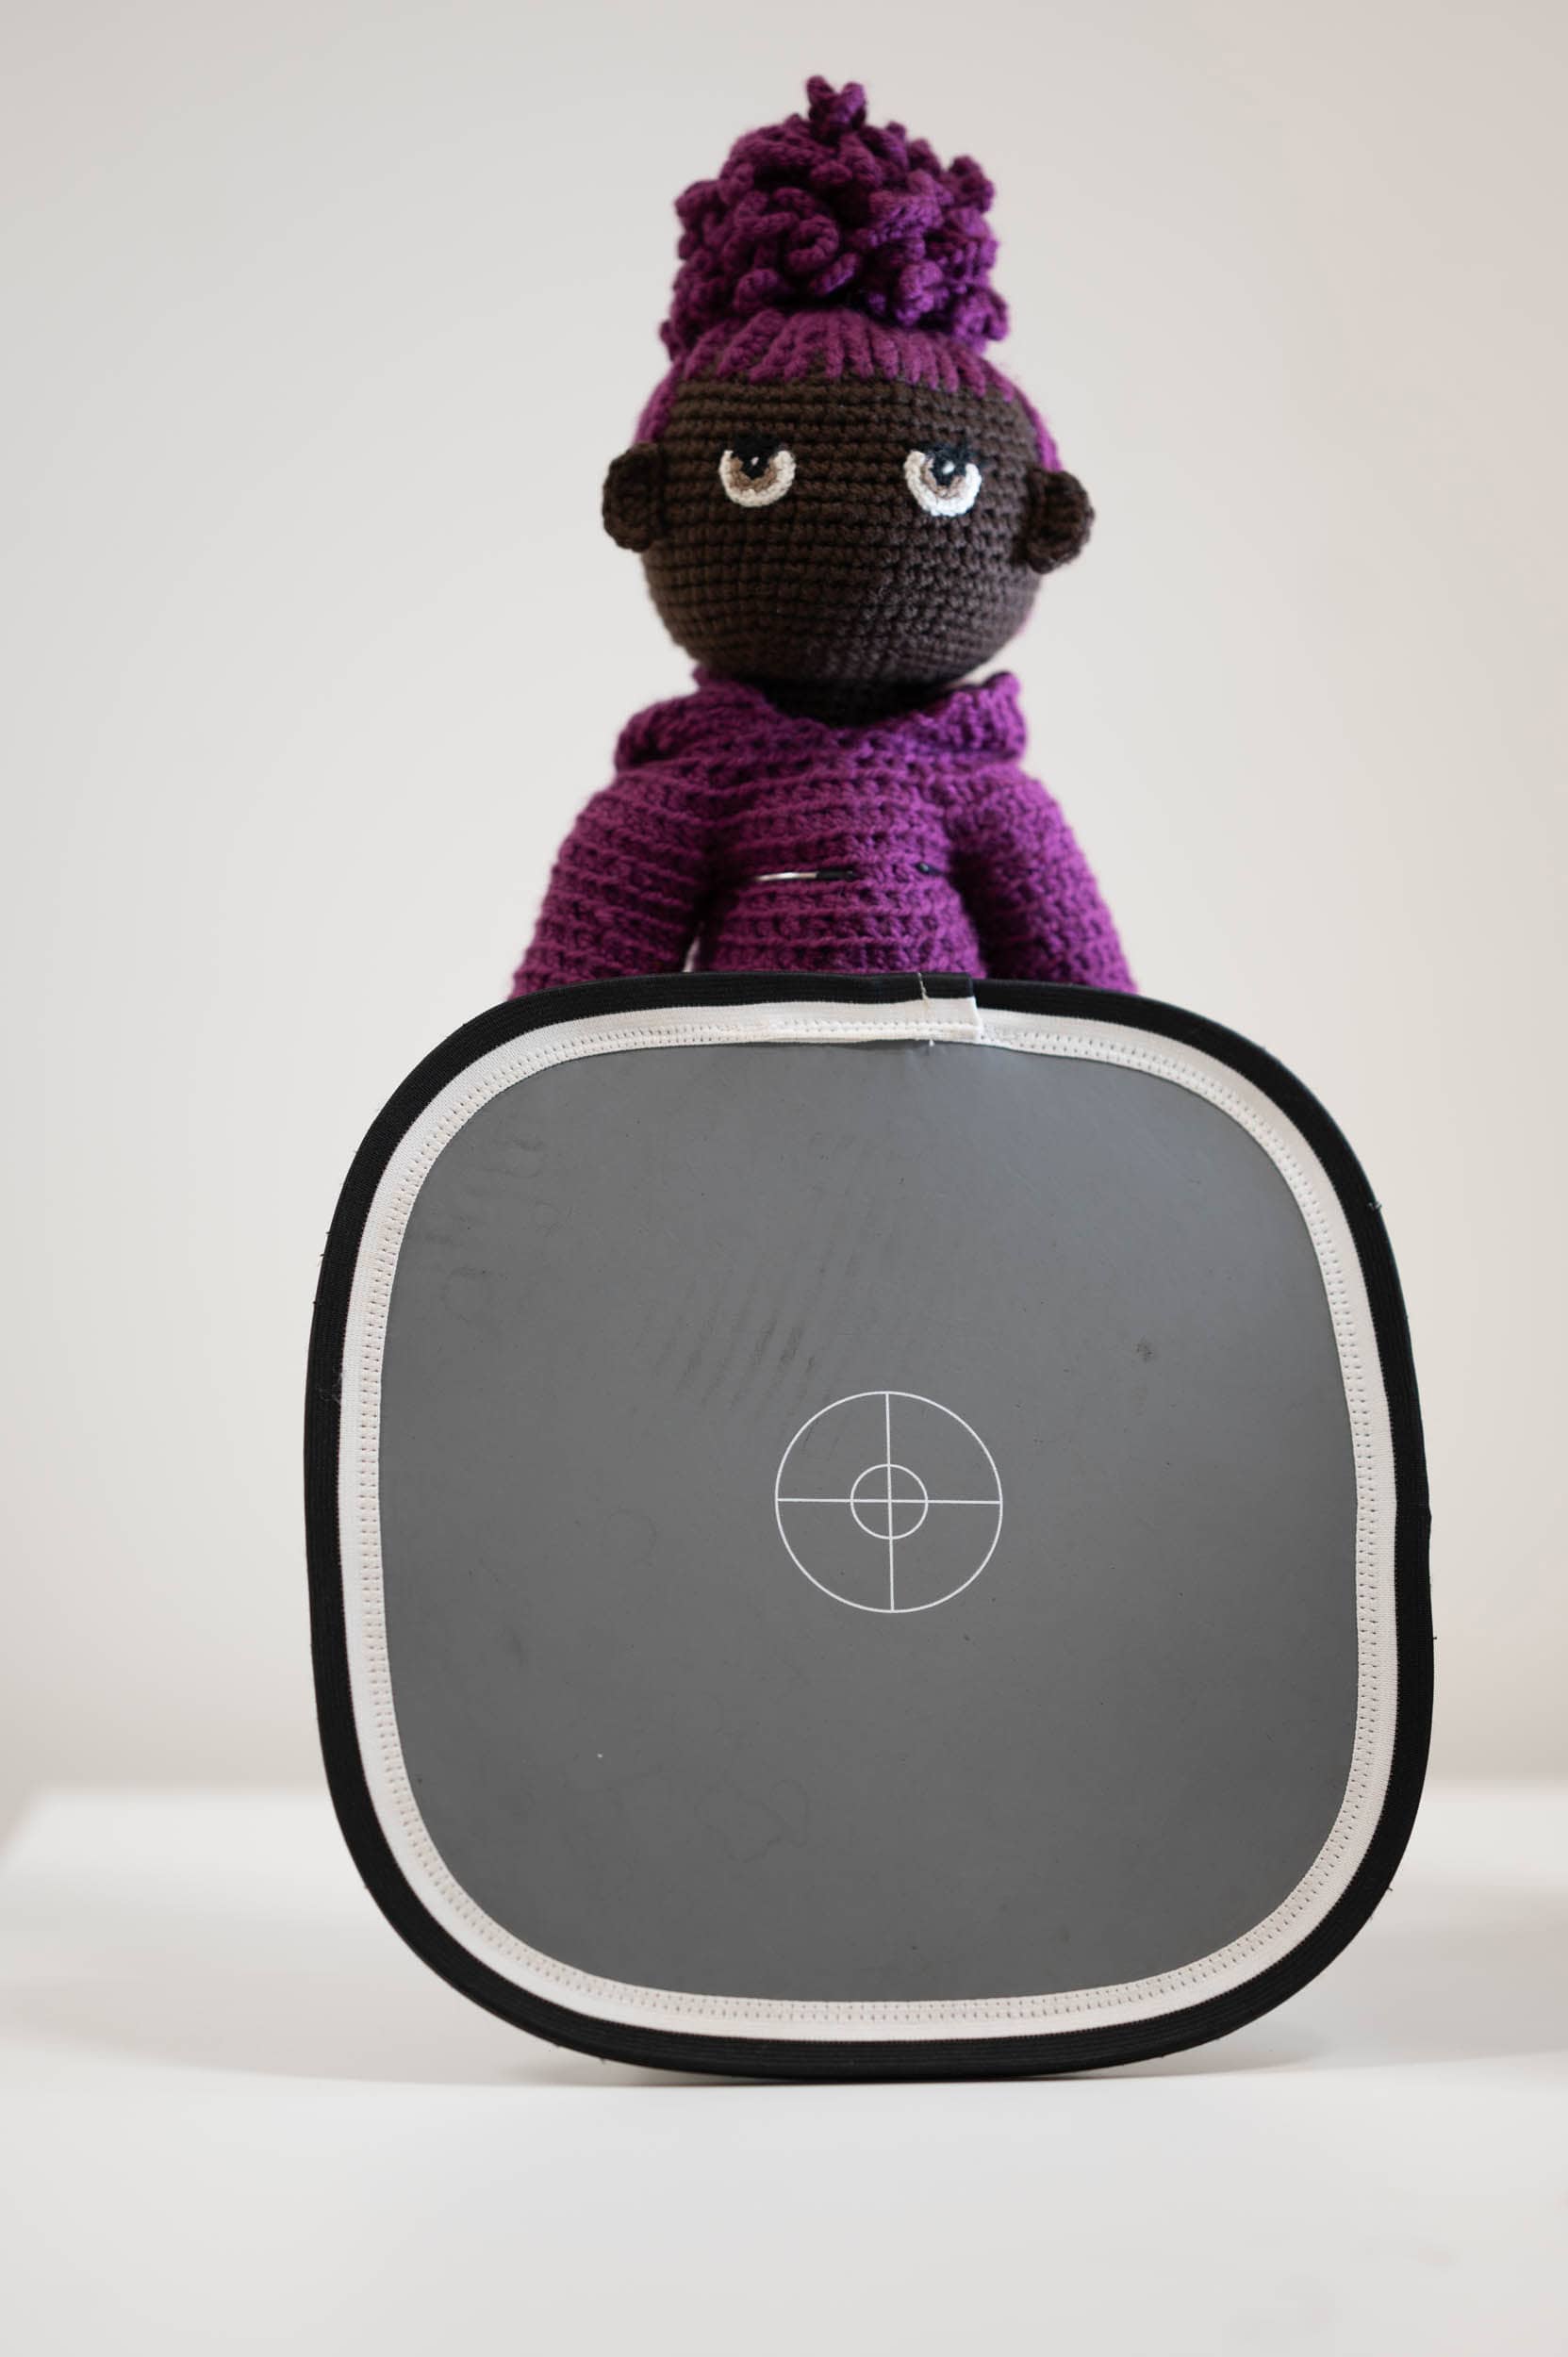
The workshop I ran with BIPC Leeds covered everything from exposure and colour balance(using the 18% grey card as pictured) to creative process and real-world examples, helping you build skills that go beyond just snapping a quick pic. Click on this link to see highlights of the talk.
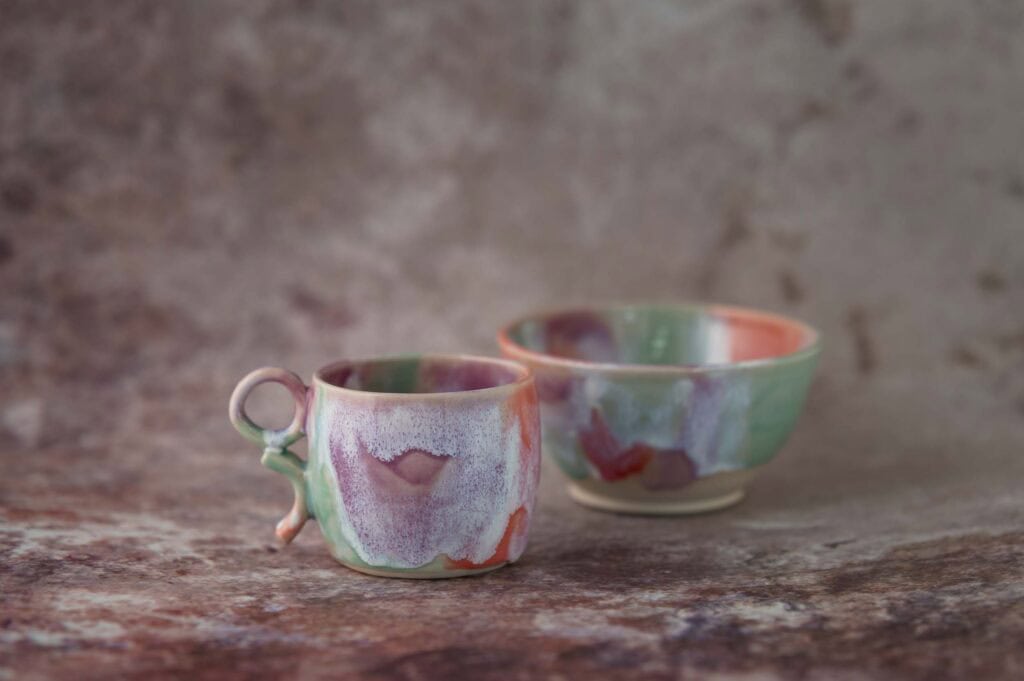
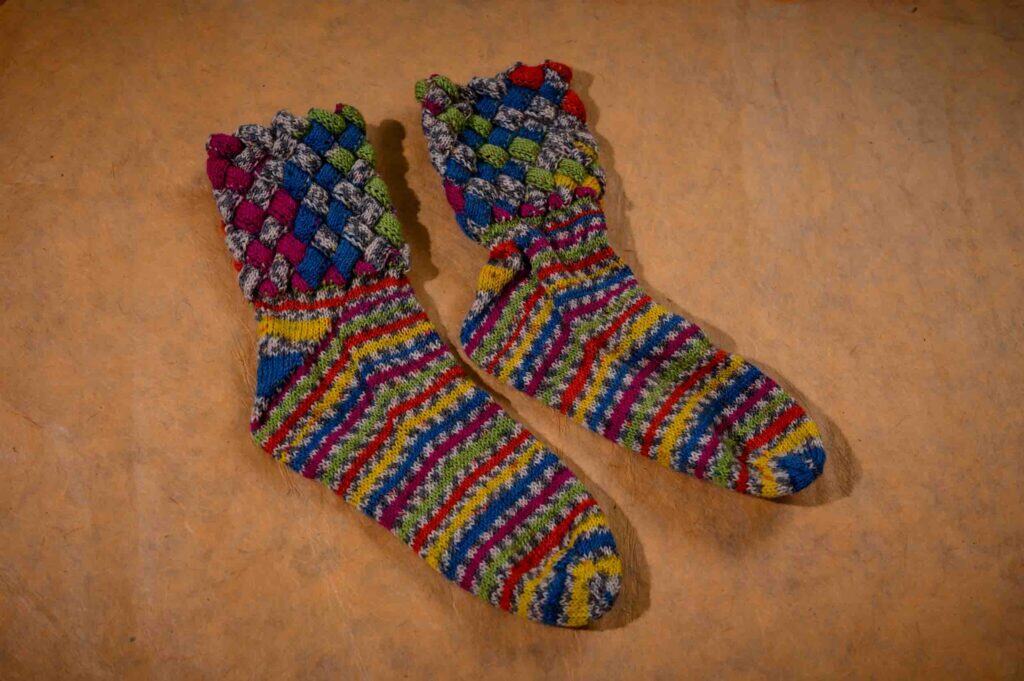
Below are a selection of images that I took during the workshop using all the techniques described.
https://www.instagram.com/pansypotterpots


https://www.instagram.com/lapinstudio__


📍 About TSP Studios
TSP Studios brings practical, creative and commercial photography expertise to small businesses, start-ups and creative entrepreneurs. Whether you’re here to improve your own product photography skills or exploring one-to-one tuition, investing in better product imagery will transform how your business is seen